Hiiiiiii so in case you didn’t notice, I’m back. I had to take a couple days off “forced vacay” (aka pharmacy school demands) but that’s over…at least for now.
Let’s face it. Not all of us are that talented at applying makeup and furthermore, who wants to spend so much money buying so many products most of which you won’t even use that often, not to mention finding the time and patience to apply them. So I, a fellow “on the run, career chasing, never been a morning person, but likes to look on point 95% of the time” collegue, took it upon myself to help you, my comrades learn how you can look fabulous in 5 minutes.
Face contouring is a top makeup trend right now. So believe me or not I have spent a lot of this past week trying to figure out a nice simple way to show you guys how to do a simple contouring that doesn’t involve 10 million products like you see on most youtube videos. Usually I dedicate 10-20 minutes of my school morning to hair and makeup depending on how much I plan on killing that day lol.
Now let me say this, like all trials especially for beginners, you might not get this the first time. However, a little practice and the right tools will get you to the top in no time. You ready?

Okay, so start by putting your normal skin liquid foundation all over your face. Please don’t cake it on, please. You will look ridiculous. Light application with a stippling brush or kabuki brush of medium size (mind you, this is after fixing your eyebrows and eye shadow).
Next, using a dump wedge blender or whatever concealer blender you have (I discourage brushes cos they tempt you to cake and can leave streaks), pat it on your concealer then lightly pat it in the under eye area on your face so it can look like this. Blend it into your foundation using the brush you used for foundation but don’t add anything to it. Some people (the more advanced ones) put some of the concealer on their T-Zone and chin. But like I said, if you only got 5 minutes to do this and you need to pick the most important part of your face to highlight, pick your undereye section.

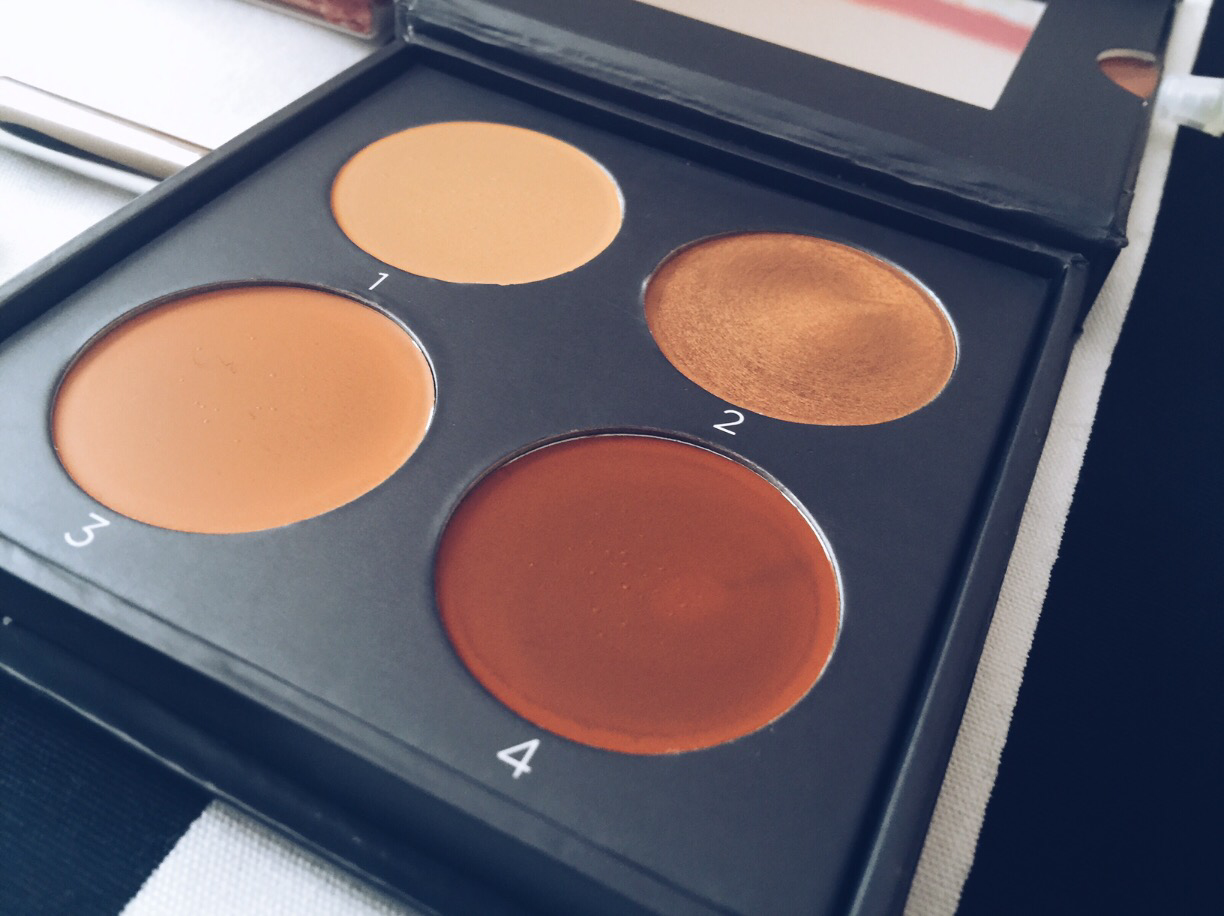
Tip: use a concealer that is 1 or 2 shades lighter than your skin shade to create the highlighting effect. A simpler option is to buy a contouring kit that has the highlighters and darker shades and shimmer stuff. My favorite is the coverfx contour kit in N Deep. It has that dark shade which is darker than my skin tone and not so many makeup brands go that dark. I use 1 or 3 to highlight under my eyes, 4 to contour my cheekbone area and 2 to enhance the highlighting on my cheeks (sort of like a bronzer).
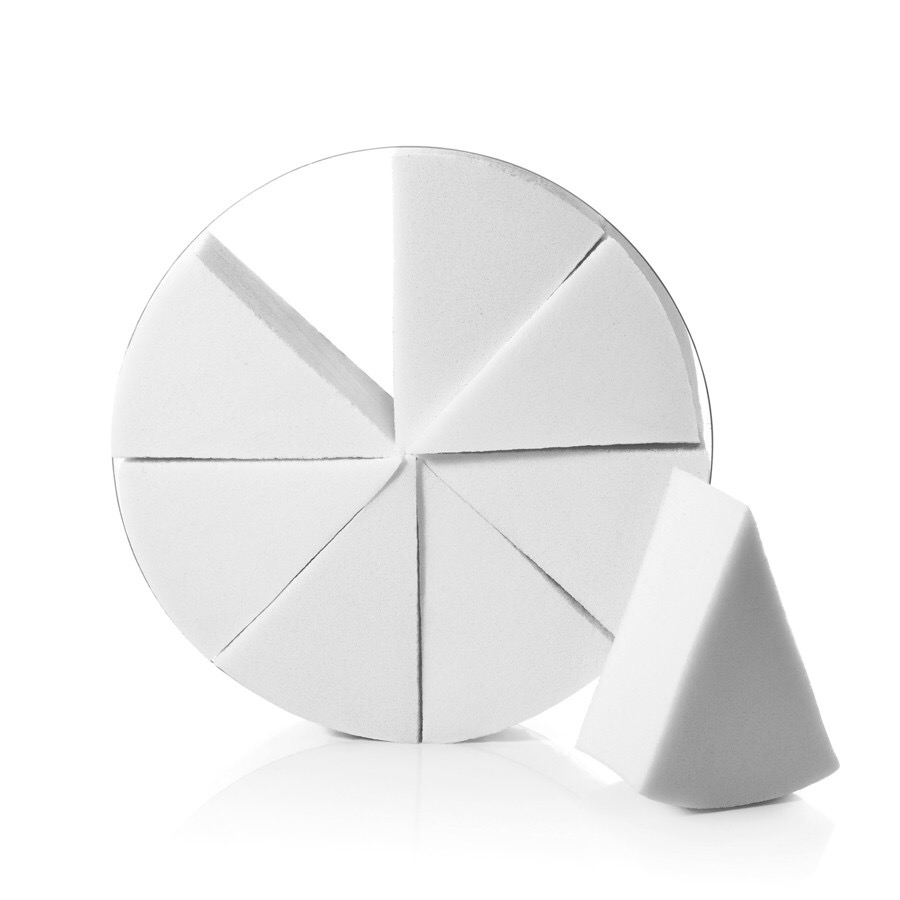
Oh, and here’s a picture of the blending wedge I used. Don’t forget to lightly dump it before use.
Then using a concealer brush or thin face brush, mark under your cheekbones with the darker shade, and then carefully blend the end towards your cheeks (not your jaw) like I have done.

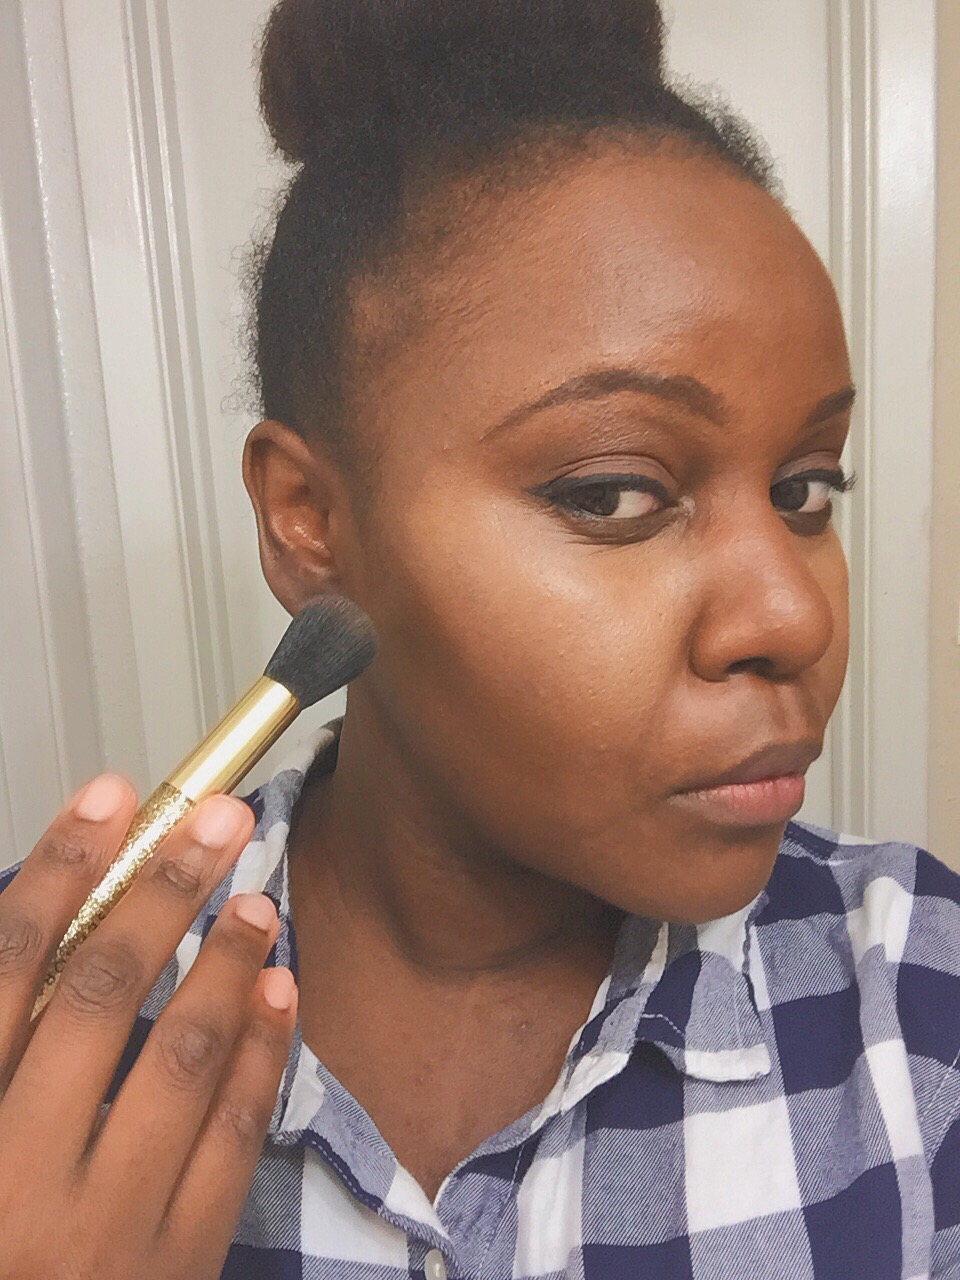
Add blush where your contouring and highlighter meet. Again, go easy, red cheeks have never been cute. Pat it on so it won’t go on so strongly.


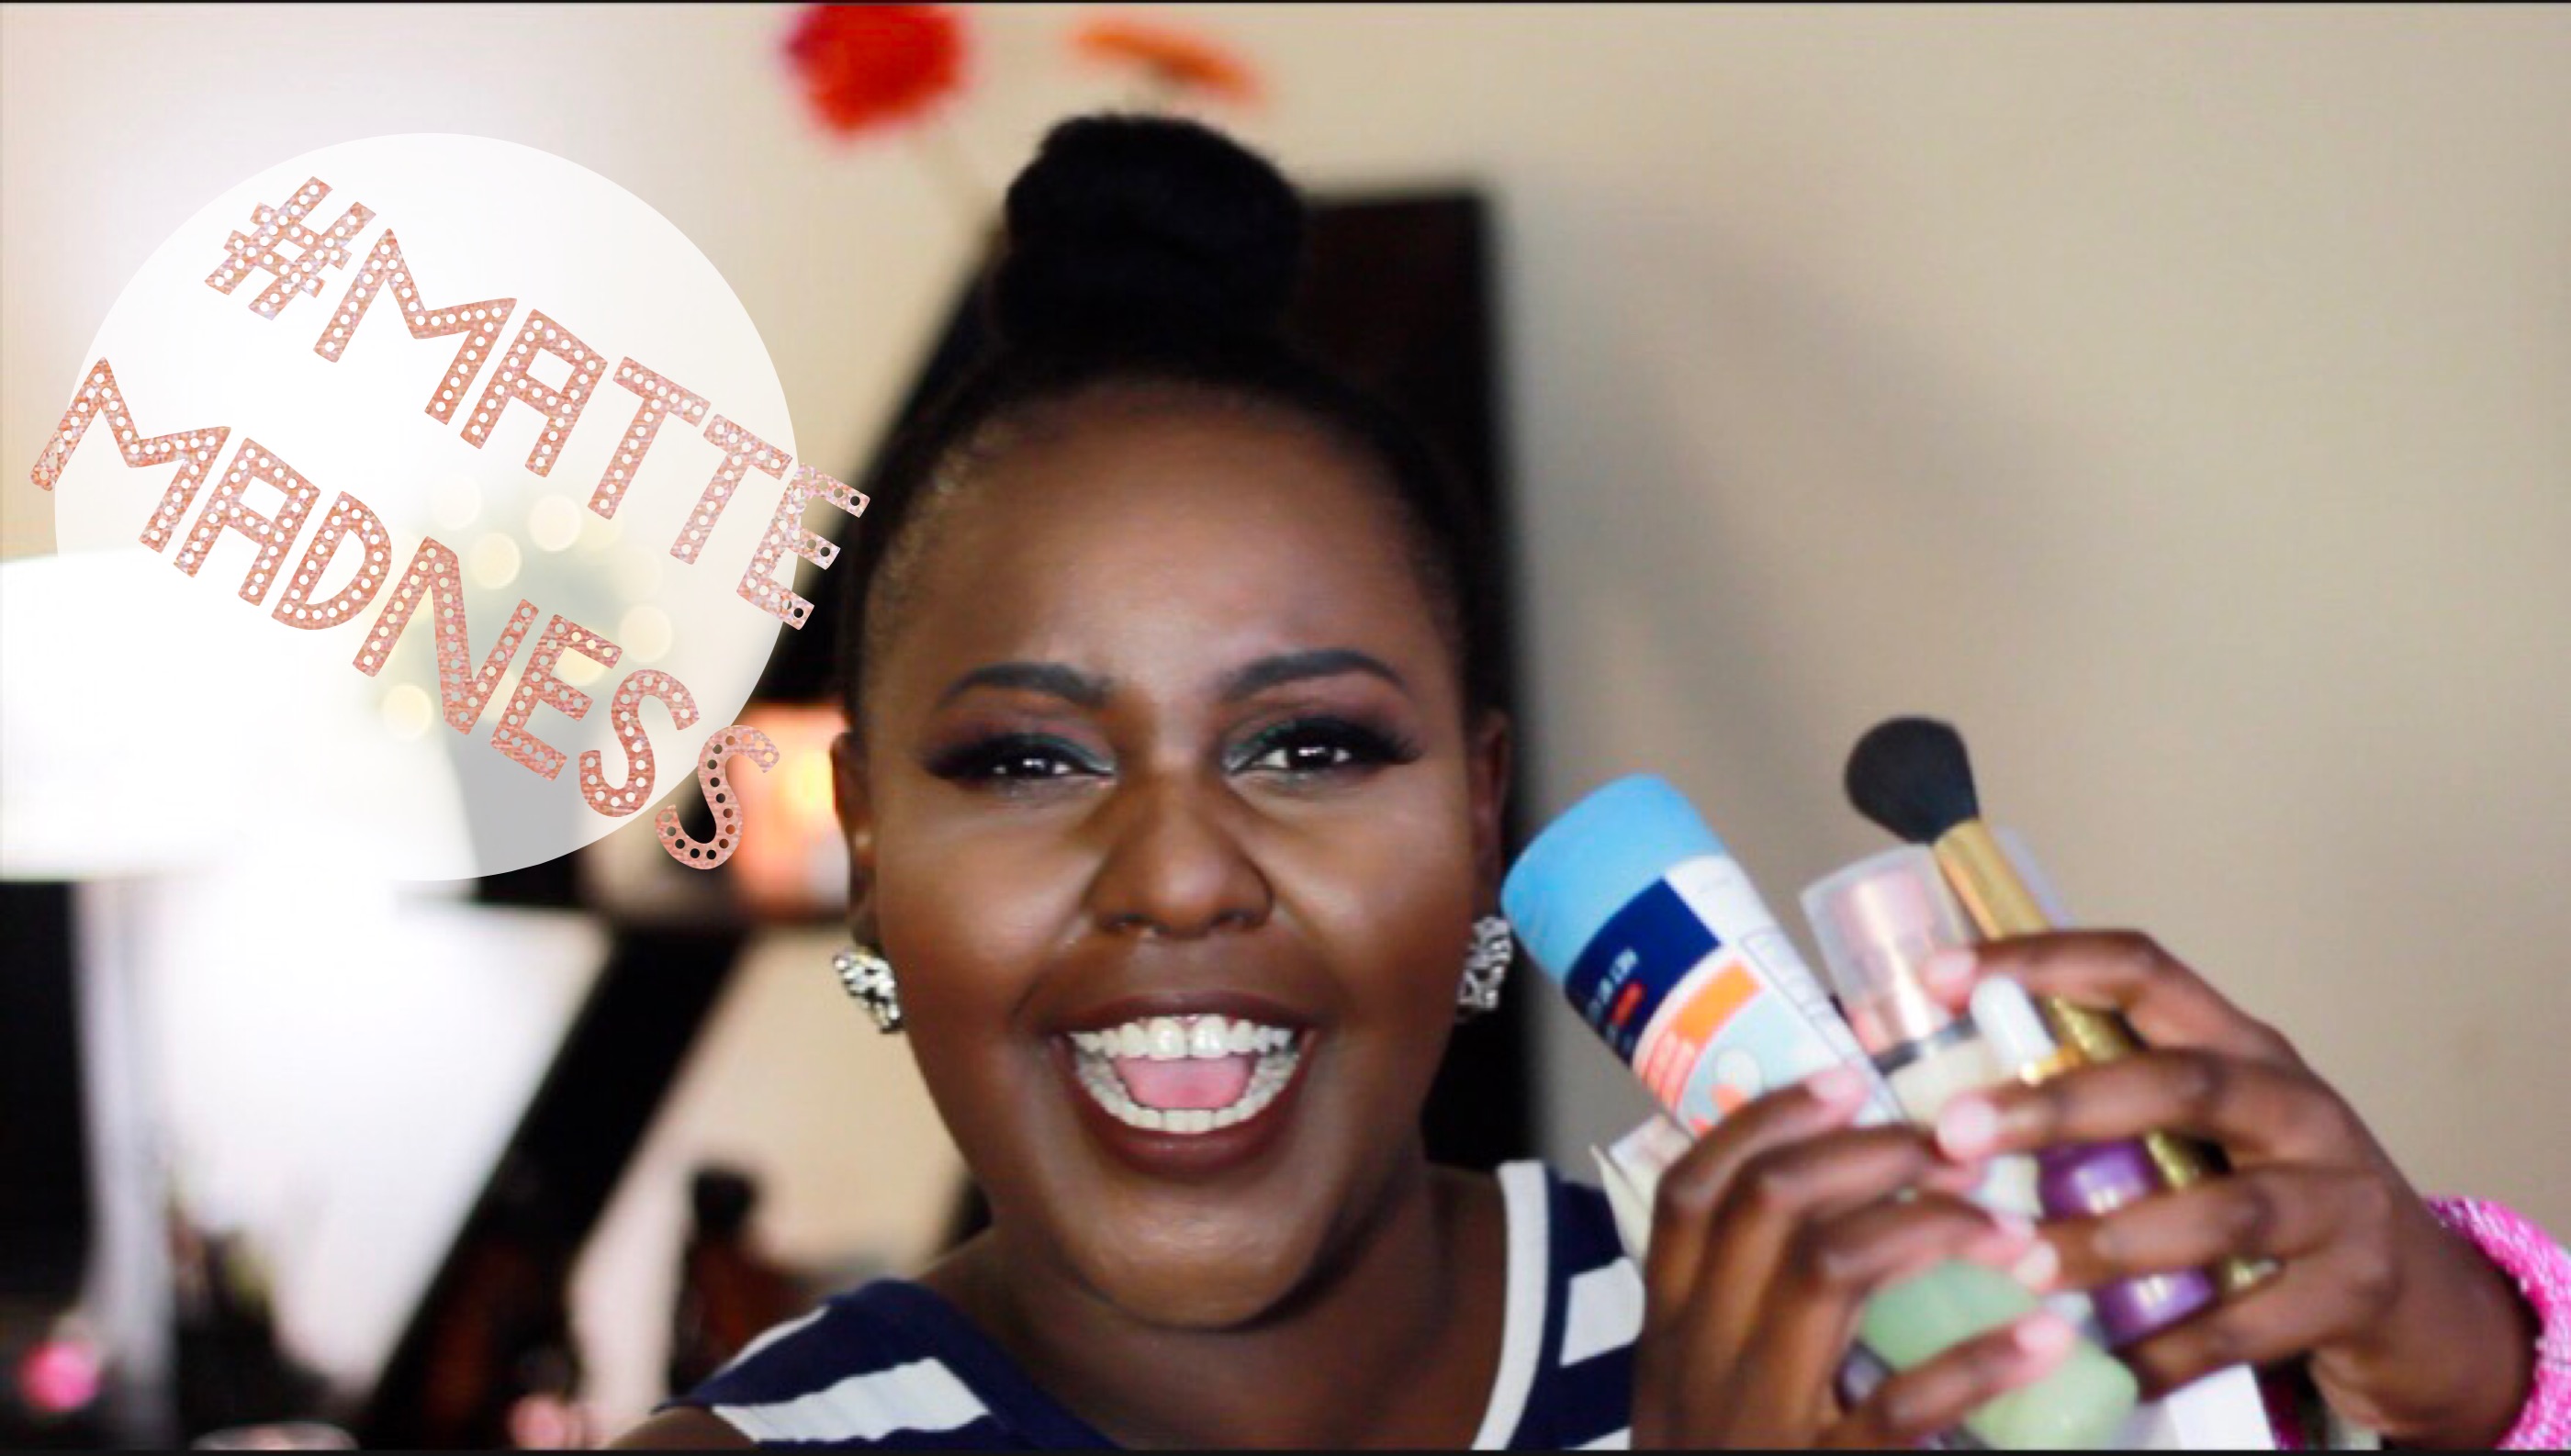
Lastly, set your look with a setting powder of your choice and some lipstick. I’m #teamMatte so I use the cover fx matte setting powder in deep.
ps. This is usually the part where people use Ben Nye powder. Yea, I’m slowly deviating from it because it has phthalates and parabens which are not good for skin. CoverFX products on the other hand help you get better skin. No they are not paying me to tell you this lol.
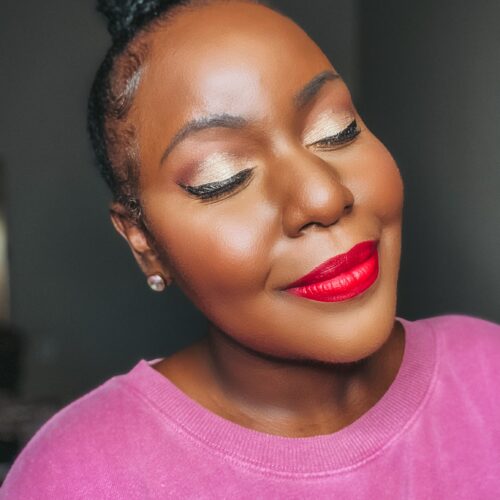
This is my finished look.

Do you love my earrings…me too! Got them from Aldo.
Hope this helps, maybe a follow up video will come one day, who knows. Special thanks to my iPhone 6 Plus, for attempting to make these pictures look professional.
Have an awesome weekend,
Love and love…Buba
